Getting Started
This is an introduction to our Contacts Webhook API. With the Contacts Webhook API you can connect CRM systems for which we do not yet have a special integration to snapAddy. This can be a practical solution for custom or inhouse CRM systems. With our API you can transfer captured contact data to your CRM system.
For working with this API it is assumed that all received and sent data
represents valid JSON strings. Please make sure that the corresponding
HTTP headers Content-Type and Accept are set accordingly.
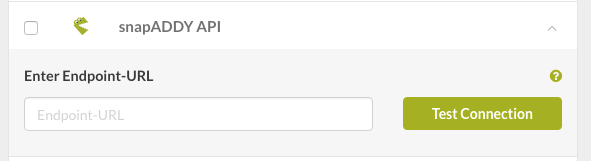
Assuming you have already set up a working URI, you can simply tell snapAddy LeadResearch where to send the contact data. This is done by setting your URI in the LeadResearch settings as shown below.
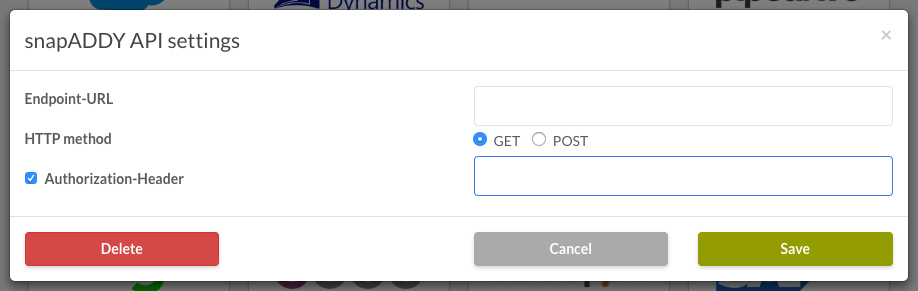
Alternatively, you can globally set your snapAddy API settings in your
organization settings. This has the advantage that all your snapAddy clients
are automatically configured. Additionally, it allows you to specify further
webhook settings, such as an authorization header in case your endpoint is
secured. The string value you configure is passed as a Authorization: <value>
HTTP header.
The image below shows the global snapAddy API settings.
When an address has been captured while the API is activated, a JSON object containing the captured contact data will be sent as a POST request to a given URL. You need to implement the HTTP interface in your own system in order to further process the data.
Below you can see an example of POST data that are sent via the API:
{
  "city": "Würzburg",
  "country": "Deutschland",
  "email": "info@snapaddy.com",
  "fax": "+4993146621219",
  "firstName": "Jochen",
  "gender": 0,
  "image": "",
  "lastName": "Seelig",
  "mobile": "+4961966525375",
  "organization": "snapAddy GmbH",
  "phone": "+4993146621201",
  "position": "Geschäftsführer",
  "xing": "https://www.xing.com/profile/Sebastian_Metzger11",
  "linkedin": "https://www.linkedin.com/in/sebastian-metzger-a8b58634/",
  "state": "",
  "street": "Juliuspromenade 3",
  "title": "",
  "website": "https://snapaddy.com",
  "zip": "97070",
  "vat": "DE815576732",
  "created": "2017-03-17T09:32:13.673Z",
  "createdBy": "s.metzger@snapaddy.com",
  "createdTimestamp": 1489743133673,
  "bcImage": "",
  "bcImageBackside": ""
}
Most properties should be self-explanatory. However, here are some more details:
- the property
gendercan have different values:- -1 (unknown)
- 0 (male)
- 1 (female)
- the abbreviations in the properties
countryandstatefollow the ISO-3166 standard - image properties (
image,bcImageandbcImageBackside) are considered legacy and are kept only for backward compatibility; their value is always an empty string
Handling Exports
After your web handler has received some exported data, you can also respond
to the request. In case of success, you can return with
HTTP status code 200 and a callback URI, which will be opened by the LeadResearch
client that made the original request. This can be done by replying with the
following data.
{
  "callbackUrl": "http://example.com"
}
You can also respond with an error and a corresponding HTTP error code to signal
the LeadResearch client that some error occurred or the sent data is not
processable. For example, providing the HTTP status code 400 and the following response body let's you provide a custom error message. This error
message will then be shown in the respective LeadResearch client.
{
  "message": "My custom error message"
}
Further Help
In case you need more information, please contact our support team.